Showing posts with label Comp 1. Show all posts

Monday, 10 March 2025

CCR 4: Critical Creative Reflection

 This is my CCR 4 where i will be talking about all the tools we've used


this is the link to the presentation incase the embedded link does not work

https://www.canva.com/design/DAGfm1WYDtM/kyWbUFqeyjA_6GxF581JIQ/edit?utm_content=DAGfm1WYDtM&utm_campaign=designshare&utm_medium=link2&utm_source=sharebutton


CCR4 by ss

CCR 3: Creative Critical Reflection

This is my CCR 3 where our skills are compared before and after our project during pre production, production and post production. 


this is the link to the presentation incase the embedded file does not work

https://www.canva.com/design/DAGfnMZTYRk/8_mdOudwWFWAUAfrYEsKtQ/edit?utm_content=DAGfnMZTYRk&utm_campaign=designshare&utm_medium=link2&utm_source=sharebutton


CCR3 by ss

CCR 2: Creative Critical Reflection

 This is my CCR 2, about how our product engages with the audience and how it is distributed as a media text


this is the link to the presentation incase the embedded link is faulty
CCR 2 by ss

Monday, 3 February 2025

Screen Test: Audience Feedback

 This post explains how we showed a rough draft of our film opening to some members of our target audience in order to receive helpful feedback. Shannon did the form


The purpose of a screen test is to gain audience feedback about our work and see if their are any improvements that can be made. We decided to use google forms to create a survey to share with our audience because it is convenient to use.

https://forms.gle/yF85gndJy9ovn6bZA

Here are our questions: 

1. What do you like about this horror movie introduction 

2. What are your thoughts on the characters of the movie ?

3. What can we improve on ?

4. Which movie title for this horror movie ?

5. if all of these feedbacks were implemented in this movie opening would you watch the rest of the movie?

6. If in the previous question you answer no then why?


We chose these questions because we wanted to understand our audience's dominant reading on our characters and how we could further make this movie introduction interesting to the point where our target audience would watch the whole movie. We showed the clip to 3 members of our target audience to ensure that the feedback we receive is appropriate and it was "horror" enough and suit their expectations. We also provided title options to them so the title wouldn't sound "cringey" or "weird" but suit the whole premise of the movie. 

Finding people for the screen test was quite difficult for me especially because most of my friends or people I know don't watch horror movies in general so it's hard for me to distribute this survey and get useful feedback from them. Luckily my teammates Max and Bamz do have friends who are horror / adrenaline enthusiasts as such we were able to get 3 people to answer the 6 six questions. 


Here is the draft that we showed audiences for the screen test:

The purpose of a screen test is to gain audience feedback about our work and see if their are any improvements that can be made. We decided to use google forms to create a survey to share with our audience because it is a convenient way to get information without wasting time finding people around the school to interview. A link also allows our group to reach people outside to school without going to another school physically which is convenient.  Here are our questions:


Here are the results from the audience feedback:
  • What do you like about this horror movie introduction ??


  • What are your thoughts on the characters of the movie ??
  • What can we improve on ?


  • Which movie title for this horror movie ???


  • if all of these feedbacks were implemented in this movie opening would you watch the rest of the movie ?


  • If in the previous question your answer was no please explain your answer ?


From the feedback we learned that we need to make our movie deeper, which means add more story / foreshadowing in the movie intro so they would be more interested. Another said we need to add context, it makes sense since the movie introduction is unfinished and our editor hasn't added any scene that moves the plot forward and the context / information on each character and their traits and what will happen. The dominant reading of the character were mysterious which is concerning as each character in the movie introduction should have different somewhat dominant readings than just "mysterious". The last thing they touched on is the fact this movie introduction leans more into mystery than horror. It's great constructive criticism because we can make that happen via editing and honestly after reviewing the footage again I completely agree. 

We are going to change the font of the title and add blood splatter animations to make it more horror filled. We might add more red to the introduction as a semantic code for death and destruction. The music can also be changed to more eerie and "ritual" like non diegetic or diegetic music so the movie can be more recognise as a horror movie. For the context part we can tell our editor to stitch up the important parts to add description into each scene and also add more depth to each character in the scene. 

This screen test was a useful part of our process because we are able to fully understand what the audience's preference so they could be intrigued into watching the whole movie. Even though the introduction's editing isn't finish and our editor left many parts behind leading to some of the criticism some of them made us change some parts of our movie so it can greatly improve. 

Reflection: The feedback from our audience helps us know which area needs to be improved and helps us understand better what technical elements in a horror movie they are mostly looking for

Wednesday, 29 January 2025

Typeface Development; Title + Credits

 This is the title and credit ideas as well as the typeface decisions for this project.


Title ideas:

Silent whisper 

Silent stalker

Dark secrets

The haunting shadow

Whispers in the dark

In the shadows

Sinister Lurker

The night's prey

Dark pursuits

Veil of fear

Silent terror

Lurking shadows

Behind the shadows


Typeface ideas:

Thinker (capcut)
Thinker-RG (capcut)
Relax (capcut)
Ravenly (capcut)
Merchande-Rgh (capcut)
Sticky (capcut)
IM FELL (capcut)


 Reflection: Me and shannon helped pick the font to use. We got the different fonts from researching in different websites. This will help give our film opening a more horror-like feeling


Wednesday, 22 January 2025

Production: Organizing Footage

 This is all the raw footage we took at the scene location of our film project. This blog post shows all the device and apps we used to communicate, film or collect data. Bams did this post.

https://drive.google.com/drive/folders/19pOWhiKdYLImOo2_XllnvymHZcKMLMGH?usp=sharing


To communicate with the group members :
WhatsApp


To download & store footage :

Google Drive


To edit the footage & organizing the footage within the application :

After Effects 2025

How Does it Help?

It helped with sharing the files to others so, instead of one person that only has the access to the footage, everyone in our group has the access to the shared file this minimizes more work with exporting through communication apps such as WhatsApp as the app reduces the resolution and quality of the video which ruins the whole immersive aspect of the film opening. In addition to that, our editors used After Effects the latest version which has more features such as the CGI as we have an idea of using CGI although, it may look off that is why we are still figuring out the editing process with the editor to make the audience feel immersive and more realistic and since it is the latest version of the editing software, there may be less glitches or bugs during editing which can ruin the edited footage because technology improves overtime. We also used WhatsApp to show the part where the editor is finished with the video so we can see segments of the video so we can make less mistakes instead of showing the full clip and finding it all in one that way, we also used that app to communicate when and where do we group up and shoot and we talked about other important things within that app.

Reflection: This would help us in compiling footage and makes it easier for us to communicate with each other.

Post-Production: Editing

 The editing is done by Kenneth.

Kenneth uses Adobe Premiere Pro and After Effects 2025 for the editing of this project.

He began editing as soon as we finished shooting. Initially, he started off in After Effects, where he color graded the raw footages to look like nighttime.
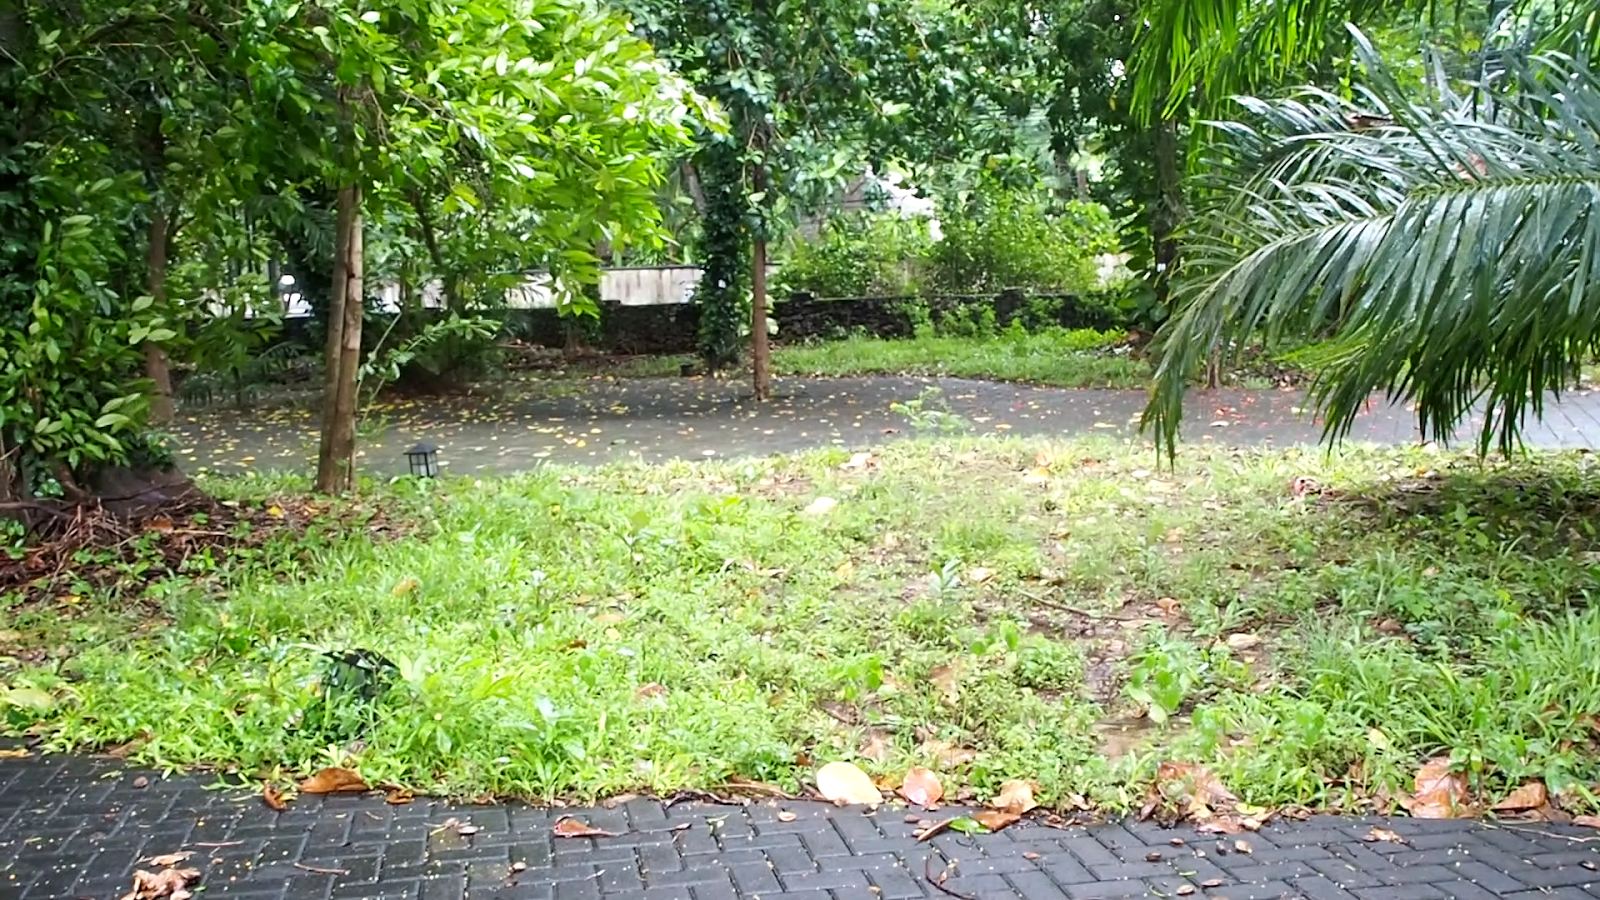

before

after

He found this Youtube video explaining the process, and it really helped a lot. Though, he ended up tweaking the little details of the color grading settings to achieve a result of my liking.

He also experimented with light leaks, which he had planned to apply on some shots.


he again made use of a Youtube video explaining the process of achieving this


But shortly after, he found out that putting it against a black background makes for a really unique shot, much better than putting it straight above the shots. So, he decided to use this for the first few seconds into the opening credits of the movie intro. he chose a simple fade animation for the credit texts.


Moving on to Premiere Pro, he placed all the dark version shots that he wanted to use for this movie intro, and aligned them in order on the timeline.

Then, he added vignettes to all the shots and made some more changes to the color grading, which in the end improved the look of the shots and make them feel more cinematic.

At first, he had the idea of having voiceover throughout the movie intro, as if a mind-reading machine is being used to enter the mind of the killer, in hopes of finding the truth behind the murder. And we as the audience watches through the POV of the machine entering the mind. He even went on to create a wormhole on After Effects, which he had planned to use at the very beginning of the intro, when the device enters the killer's mind for the first time.

This is thanks to a Youtube video tutorial he found at the time.


But after discussing with my team members, we decided to drop this idea, since the mind reading device plot doesn't suit horror that well, and leans more into sci-fi.

Meanwhile, choosing the right audio was also quite a challenge. he initially had footstep sounds play at the first few seconds of the intro, then followed by a swoosh sound as the wormhole plays. But, dropping the mind-reading device plot meant choosing a different set of audio as well.

Picking and rearranging shots on the timeline was also a back-and-forth task, with new ideas cancelling the previous arrangement. But in the end, he found the arrangement of shots that he loved and sticked with that.

Finally, Kenneth opted for a creepy-sounding music to play throughout the whole intro, and he found the perfect one to do just that. He used this music as a base for the timing of the transitions between shots.

So far he used several moon stock videos at some points of the intro, which he really loved. But halfway through the editing process, my media teacher reviewed the edit and told me to not use stock footages, so he removed the moon shots and opted for our own shots of lighter instead.

The rest of the editing process went smooth from then on, and most of the clips were arranged based on the beat of the audio he chose for this intro.

There's one particular clip that he put extra work on, which is this shot below.


The silhouette of the killer behind the main character is actually fake. It's an image that he tracked into the shot using the "3D Camera Tracker" feature available in After Effects. The addition of the silhouette isn't perfect, since it is static, but it definitely helped intensifies this last scene of the movie intro.

Meanwhile, for the main title animation, he initially considered going for a bluish theme.


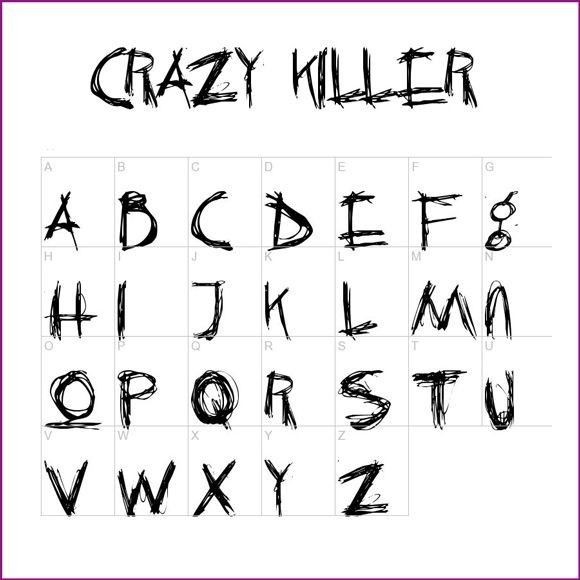
But at this point, my teammates suggested me to change the font to a scratchier hand-written style to further enhance the horror feel. And with a different font in use, he ended up changing the main title animation as well, to this blood-dripping style from the Youtube video below.


End result, with new font and animation.

Reflection: Kenneth did a good job on the editing, however in the beginning he did use several stock videos which arent allowed, however he changed it and improved greatly in his editing skills.

Dominant Reading

 This is the dominant reading for our project. This was made by Shannon.


List 

Our intended 

Dominant Reading

How we will achieve this with technical elements

Individuals 

Greg, Kenneth, Max 

Kenneth = a paranoid  teenager 


Greg = Kenneth's good friend, mindful of his surroundings 


Max = careless, ignorant teenager 

Kenneth 

Mise en scene: The actor constantly looks at his surroundings and whatever's around him. 


Camera: There is a close up of his concerned expression. There are also medium shots of his concerned body language. The camera pans from Kenneth to what he is looking at. 


Editing: Multiple cuts of different camera angles. There is also an eyeline match of kenneth looking to his surroundings 


Sound: Diegetic sounds of rustling leaves and footsteps of the stalker. 


Greg 

Mise en scene: The actor performance contained looking for his friend (kenneth) when he disappeared 


Camera: There is a tracking shot of him trying to follow Kenneth's tracks. Medium shots of his body language turning around to find Kenneth. 


Editing: Multiple cuts of different camera angles. There is also a reaction shot  of his worried face and Kenneth's “blood”. 


Sound: Diegetic sounds of the actor’s dialogue contained words that worried about Kenneth after he disappeared. 


Max

Mise en scene: The actress carries headphones and has her emotionless expression when the camera focuses on her. 


Camera: There are close up shots of her expressions that show that she doesn’t really care. 

Social group

Teenagers

Teenagers should not be left alone without adult supervision. 

There are multiple camera angles / close up shots of the paranoia of the teenagers. There is a tracking shot scene where Kenneth gets killed. The body language of both Greg and Kenneth are shaky and scared. 

Places

Forest

Forests are a bad place to hangout. 

There will be low key lighting that’s used to present the place. Many bushes and leaves will be used that hides hidden cameras that makes the scene unsafe for the characters and the audience.  Discordant non diegetic sounds will be used. 

Events

Murder 

Murder is bad / traumatic. 

There is a medium shot of Greg worried for kenneth. There is blood in some scenes and the color red on blood is a semantic code for death, anger, etc. 

Overall Message

Teenagers shouldn’t be left alone in the forest because tragedies may happen as a result of murder.


Reflection: Shannon made this, which helped us understand clearly about our intention. This helped clear things up and all of us understand the goals we aim to achieve

Monday, 13 January 2025

Classwork: Editing Practice

 This blog post contains the work I did in my lesson on how to successfully edit. My teacher filmed the footage but I edited it together. My teacher also provided the template for the blog post.


Why is continuity editing important? 

Continuity editing includes making sure that items like props or costumes stay consistent from scene to scene. But the more important work lies in editing shots together in a way that leaves viewers thoroughly grounded in both time and space.

Different types of continuity edit

- Straight cut (cut)

- Eyeline match

- Shot/reverse shot

- Cutaway/insert

- Match cut

Footage

Here is the footage that my teacher shot which utilises a variety of camera angles and movements. The scene is very simple, it involves a student standing up and leaving the classroom. A single shot here might be quite boring for the audience, by editing and combining hte shots together we can make the scene feel more dynamic.


My editing process

I used capcut for my editing


The first thing I did was add all the clips together in order of the actions.

Then, I cut off any unnecessary scenes such as the extra footage in the beginning of each clip.

I had way too many cuts, however I was experimenting and was aiming to make this simple boring scene more exciting, which is why it appears more fast-paced.

I made sure that each cuts match each other such as both hands in his pocket and which feet was forward. I made sure that the cuts between the clips match each other. 

Lastly, I edited so that the direction of the clips would be to the right.

Here is my final scene.


Reflection: Editing this is very simple, I had fun editing it. I know not to put too much cuts on scenes that have not much things going on and I will put that information to use in the future. 

Monday, 6 January 2025

Shooting Practice: Horror Scene Recreation

This post contains a mini project that helped us learn how to shoot a cinematic scene. We did this as a group


Our teacher told us to find a scene from a movie in our genre to recreate. Our genre is horror, we chose Jennifer's Body (2009)


Storyboard:


Our replica:


Mise en scene 
Problem: We couldn't control the lighting as we were filming outside the classroom. The lighting for a horror movie especially for this one requires mostly low key lighting and since it was sunny today we didn't have access to that. 
Solution: Our teammates Max and Kenneth decided to adjust the video's lighting using the video editing apps to get the same feel as the clip from the movie. 
Next time: We will find a place with artificial lighting so we can easily control the lighting without much help from the video editing app to give it a more natural look instead of artificially increasing something. However, if this is not possible we will use the solution mentioned previously. 


Problem: In the first scene an actress looked at the camera. It's a subtle detail but our goal is so it would match perfectly to the scene we are trying to recreate. 
Solution: Our team tried to edit the video. However they couldn't fully fix that scene so we didn't find the right solution at that time. 
Next time:  we will rehearse and practice many times before we actually film the scenes. If not we can do multiple takes at the time and carefully look at the footage before deciding on another take. However, if all these repercussions fail then we can figure out how to edit it out. 

Sound 
Problem: We didn't have any problems with the sound as we use audio from the original clip which is very clear. 
Next time: I think we will continue doing this and for our upcoming project we will pre record the audio for the dialogue so we can get a clear sound. I also learned it's best not to record audio while we are recording a scene 


Behind-the-scenes: 


Reflection: It took several takes to get a good shot. We had problems remembering the script, actions, and camera angles. However we got the hang of it and got some decent shots.

Monday, 4 November 2024

Behind the Scenes

 This is the Behind the Scenes for this term's group project. Kenneth will be doing the behind the scenes, however we forgot who was supposed to be doing it so I did the behind the scenes.


Director: Max, Shannon
Cast: Max, Kenneth, Bams
Production company: Regents Media Production
Editor: Kenneth
Mise-en-Scene manager: Max, Bams


Reflection: I did not take enough behind the scene pictures however these should manage. Next time i will note down the tasks to do and remind myself of it.